

By Emre Konuralp · Updated October 2026
Many of you write to me on Instagram right before your flight: “What do I do first when I land?” This guide is the step-by-step routine I share with friends and followers, based on my many arrivals at Ngurah Rai. Save it for your trip, and come say hello at @ajourney.
Your first hour in Bali can set the tone for the whole trip. After a long flight, the last thing you want is to stand in the wrong queue, fill in forms on an airport computer, pay too much for a taxi or arrive at your hotel with no cash, no internet and an empty stomach.
I have landed at Bali’s Ngurah Rai International Airport (DPS) many times, and I now follow the same simple routine every time. In this guide I walk you through it step by step: what to prepare at home, how to pass immigration and customs quickly, where to get your first cash and SIM card, and how I get from the airport to my hotel safely and at a fair price.
My Bali arrival routine in one minute
- Arrange your visa or e-VOA before you fly, if your nationality needs one.
- Complete the All Indonesia Arrival Card within 72 hours before your flight and save the QR code.
- Use the automatic e-gates at immigration if you are eligible.
- Exchange US$50–100 or withdraw around Rp1.7 million for the first days.
- Buy a local SIM card before you leave the terminal.
- Eat upstairs if you are hungry—the drive to your hotel can take 1–2 hours.
- Book Grab or Gojek from their airport pick-up lounges, or meet a driver you have arranged in advance.
1. Before You Fly: Three Things to Do at Home
The smoothest Bali arrival starts before you board. Three pieces of paperwork decide whether you walk straight through the airport or spend your first hour in queues.
Arrange Your Visa or e-VOA
Some nationalities can enter Indonesia visa-free, while others need a visa. Many travellers use the Visa on Arrival (B1), which gives an initial 30-day stay and can normally be extended once for another 30 days. You can buy it at the airport, but I prefer applying online for the e-VOA before departure: it removes a payment queue after a long flight and, for eligible passports, opens the door to the automatic e-gates.
Which option is right for you depends on your nationality, the purpose of your trip and how long you plan to stay. I explain each visa type in detail in my Bali Visa & Entry Guide.
Complete the All Indonesia Arrival Card
In my experience, this is the single most important step for a fast arrival. The All Indonesia Arrival Card is Indonesia’s official, free online arrival declaration. It combines your arrival details, health information and customs declaration in one form. You can complete it within 72 hours before your flight through the official All Indonesia website or app.
Have these details ready:
- Passport details
- Flight number and arrival date
- The address of your first hotel or villa
- Contact information
- Health information, if asked
- Number of bags and any goods you need to declare at customs
When you submit the form, you receive a QR code. Take a screenshot so you can show it even without internet. If you skip this step, you can still fill in the form on the computers after passport control, but in my experience this costs time—especially when a few large flights land together.
Tip: Only use the official government website or app. Several look-alike sites charge a fee for a form that is free.
Pay the Bali Tourist Levy
Foreign visitors to Bali pay a one-time tourist levy of Rp150,000 per person. You can pay in advance on the official Love Bali website and keep the voucher on your phone. Paying before you travel means one less thing to think about at the airport.
2. Immigration: E-Gates or the Manual Queue
When you reach passport control at Ngurah Rai, you will see two options: the automatic e-gates and the traditional immigration counters.
- E-gates: If you already have an approved e-VOA (or are an eligible visa-exempt traveller) and a passport with a chip, you can usually go straight to the e-gates. You scan your passport, look into the camera and the gate opens—there is no need to speak with an officer.
- Manual counters: If you need to buy a Visa on Arrival at the airport, or you are not eligible for the e-gates, you join the queue for an immigration officer. On a busy evening this can take a long time.
This is the main reason I always arrange my visa online before flying. With the visa already in the system, I skip the counter queue completely and walk directly to the e-gates. Eligibility rules can change, so check the current conditions for your nationality before travelling.
3. Baggage Claim and Customs
After immigration, collect your luggage at the baggage carousels. At the customs exit, you scan the QR code from your All Indonesia Arrival Card. If the form is already complete and you have nothing to declare, this takes a few seconds and you walk out into the arrivals area.
If you did not complete the form at home, use the computers in the airport after passport control to fill it in, then continue to customs with your new QR code.
4. Get Your First Cash: Just Enough for the First Days
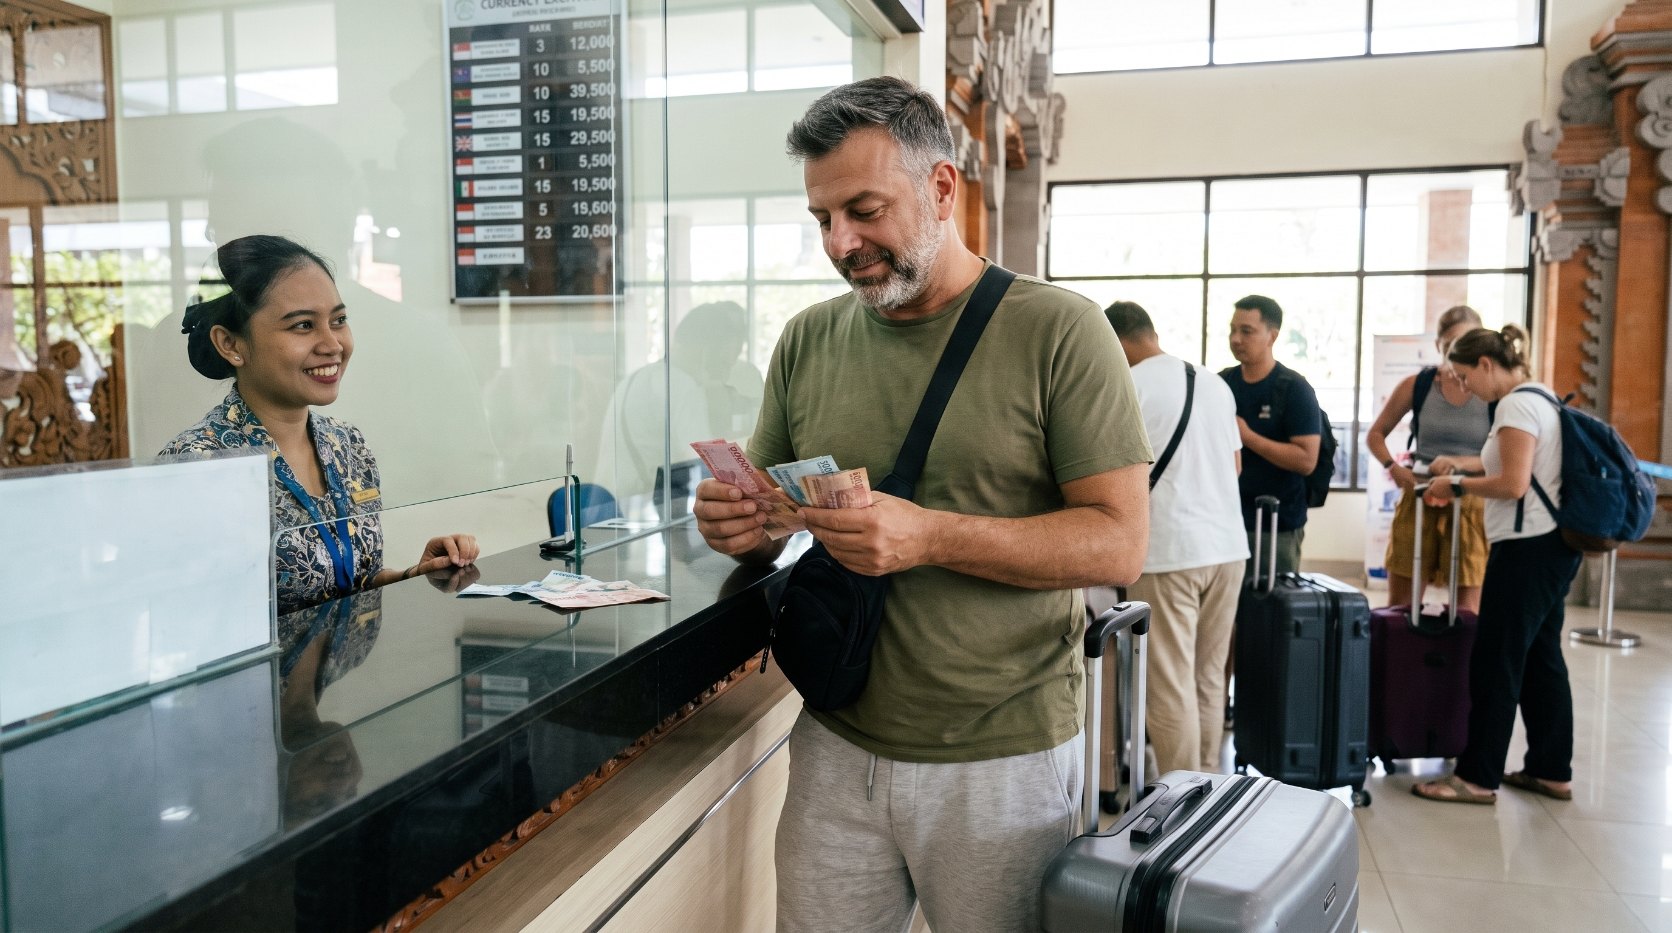
Once you are through customs, I recommend getting a small amount of Indonesian Rupiah before you leave the airport. You will need cash for small purchases, tips and places that do not accept cards until you find a reliable money changer in town.
My advice is simple:
- Exchange a small amount, such as US$50 or US$100, at one of the exchange counters in the arrivals area, or
- Withdraw around Rp1.7 million from an airport ATM—roughly the equivalent of US$100, depending on the current exchange rate.
Airport exchange rates are usually not the best on the island, so I do not change all my money here. Once I reach my area, I look for an established, authorised money changer with clearly displayed rates. At the ATM, always choose to be charged in Indonesian Rupiah rather than accepting the machine’s own currency conversion.
For a full explanation of cards, ATMs, fees and safe money changers, read my Bali Money & Payments Guide.
5. Buy a SIM Card Before You Leave the Terminal
I always recommend buying a local SIM card at the airport. You will need mobile data straight away:
- To book Grab or Gojek to your hotel
- To message your hotel or driver if you are delayed
- To use maps on the way
- Because hotel Wi-Fi in Bali is not always strong enough to depend on
The mobile operator shops are in the arrivals area, close to the exchange counters. Make sure the SIM card is activated and working before you walk away from the counter.
Which operator should you choose, and should you buy an eSIM before you go? I compare Telkomsel, XL and Tri and explain my own choice in the Bali SIM Card & Internet Guide.

6. Hungry? Eat at the Airport Before the Drive
This is a tip many first-time visitors overlook. If you are hungry when you land, eat before you leave the airport. There are good restaurants on the upper floor, and in my experience the prices are reasonable.
The reason is Bali’s traffic. Unless you are staying in Kuta, which is very close to the airport, the drive to your hotel will probably take at least 45 minutes and often much longer. Approximate travel times outside rush hour:
| Destination | Approximate drive from the airport |
|---|---|
| Kuta / Legian | 15–30 minutes |
| Seminyak | 30–60 minutes |
| Uluwatu | 45–75 minutes |
| Canggu | 45–90 minutes |
| Ubud | 1.5 hours or more |
These are my planning estimates. Traffic, weather, ceremonies and the time of day can make the journey considerably longer, so do not plan anything important for the evening you arrive.
7. Getting to Your Hotel: Grab, Gojek, Taxi or Private Driver
Grab or Gojek: My First Choice
For most travellers, I think Grab or Gojek is the safest and simplest way to leave the airport. The price is shown in the app before you book, the service is official at the airport and you do not need to negotiate.
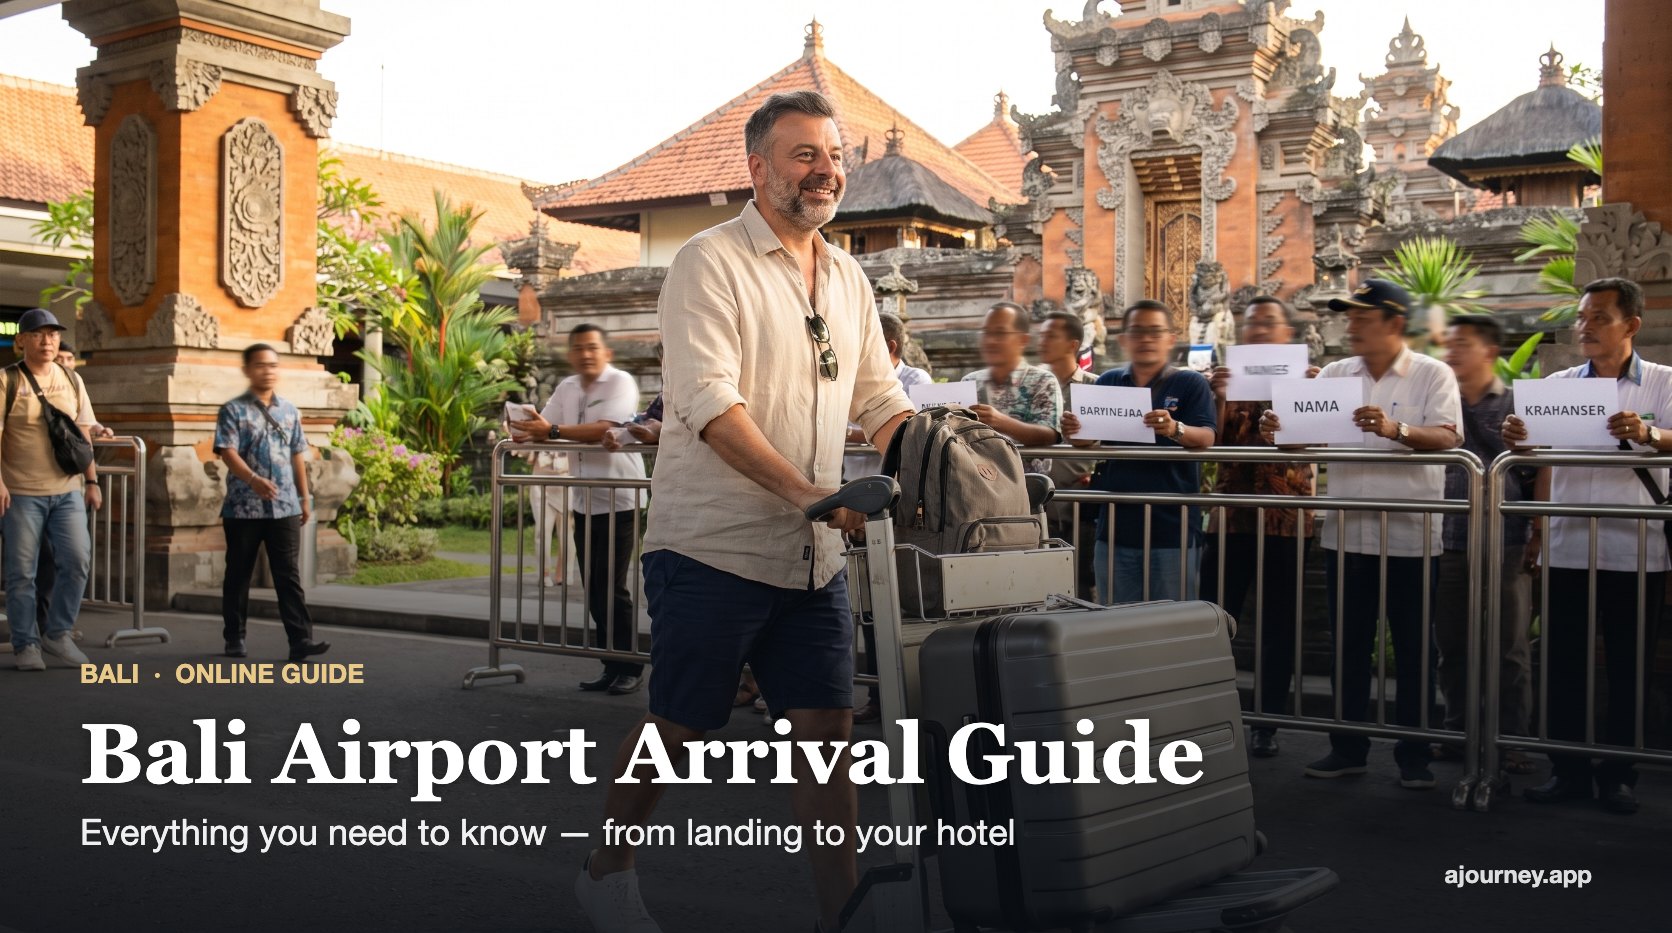
How to find the pick-up point: After you walk out of the arrivals hall, pass the area where drivers wait holding name signs. Continue straight ahead, and you will see the Grab and Gojek signs. Follow them to the pick-up lounges, book your car in the app and wait there for your driver.

Airport Taxis and Drivers Calling “Taxi”
As you walk out, you will hear people calling “Taxi, taxi!” In my experience, they are generally reliable, but their prices are usually higher than the apps. If you choose one, agree on the full price to your hotel before you get in the car.
A Private Driver Arranged in Advance
If someone you trust has recommended a driver, arranging the transfer before you arrive is also a good option. Send your flight number and hotel address in advance and agree on the price and the meeting point. Your driver will usually wait among the name signs outside the arrivals hall. Many hotels and villas can arrange an airport transfer as well.
For a detailed comparison of drivers, Gojek and Grab, travel times to each area and tips for arriving at a villa or Airbnb, read my Airport to Your Hotel in Bali guide.
8. Common Arrival Mistakes I See
- Leaving the arrival card until the airport. It works, but it adds time after a long flight.
- Using unofficial websites for the arrival card, the e-VOA or the tourist levy.
- Changing all your money at the airport instead of only what you need for the first days.
- Leaving without a working SIM card and then trying to book a ride on weak Wi-Fi.
- Getting into a taxi without agreeing on the price.
- Underestimating the drive to Ubud, Canggu or Uluwatu and planning an evening activity on arrival day.
9. My Step-by-Step Bali Airport Arrival Checklist
- Before flying: arrange your visa or e-VOA if you need one.
- Within 72 hours of your flight: complete the All Indonesia Arrival Card and save the QR code.
- Pay the Bali tourist levy on the official Love Bali website.
- At immigration: use the e-gates if you are eligible; otherwise join the counter queue.
- Collect your luggage and scan your arrival card QR code at customs.
- Exchange US$50–100 or withdraw around Rp1.7 million.
- Buy and activate a local SIM card.
- Eat upstairs if you are hungry.
- Follow the signs to the Grab or Gojek pick-up lounge, or meet your pre-arranged driver.
Frequently Asked Questions
How long does it take to get through Bali airport?
It varies with the time of day and how many flights land together. With an e-VOA, e-gate access and a completed arrival card, it can be quite quick. If you need a Visa on Arrival at the counter and complete the arrival card at the airport, allow considerably more time.
Is the All Indonesia Arrival Card mandatory?
Yes. International travellers must complete Indonesia’s official arrival declaration. It is free when completed on the official website or app.
Can I use the e-gates at Bali airport?
Travellers with an approved e-VOA and an electronic passport can generally use the e-gates, and some visa-exempt nationalities are eligible too. Check the current rules for your nationality before travelling.
Should I exchange money at Bali airport?
Only a small amount. I exchange around US$50–100 or withdraw about Rp1.7 million from an ATM for the first days, then use an authorised money changer in town.
Can I buy a SIM card at Bali airport?
Yes. Operator shops in the arrivals area sell tourist SIM cards. I recommend buying one before you leave so you can book a ride and contact your hotel.
Is Grab available at Bali airport?
Yes. Both Grab and Gojek have pick-up points at Ngurah Rai International Airport. Walk past the drivers holding name signs and follow the signs to the pick-up lounges.
How long is the drive from Bali airport to Ubud?
Plan for around 1.5 hours or more, depending on traffic. Kuta is the closest area, while Seminyak, Canggu and Uluwatu usually take 30 to 90 minutes.
Related Bali Guides
- Airport to Your Hotel in Bali
- Bali Visa & Entry Guide
- Bali SIM Card & Internet Guide
- Bali Money & Payments Guide
- Flights to Bali
- Safety in Bali
- How to Plan Your Bali Itinerary
Follow my Bali life day by day
I share the places, people and little discoveries behind these guides on our Instagram. Say hello and follow us at @ajourney for my real experiences in Bali.
Official Sources
Entry rules can change. Before travelling, check the All Indonesia Arrival Card, the official Indonesian e-Visa website and the Love Bali tourist levy portal. Travel times are my own planning estimates.
Images are AI-created editorial illustrations using Emre Konuralp’s portrait reference where shown. They illustrate the guide rather than document a specific visit.
By Emre Konuralp · Updated October 2026
Many of you write to me on Instagram right before your flight: “What do I do first when I land?” This guide is the step-by-step routine I share with friends and followers, based on my many arrivals at Ngurah Rai. Save it for your trip, and come say hello at @ajourney.
Your first hour in Bali can set the tone for the whole trip. After a long flight, the last thing you want is to stand in the wrong queue, fill in forms on an airport computer, pay too much for a taxi or arrive at your hotel with no cash, no internet and an empty stomach.
I have landed at Bali’s Ngurah Rai International Airport (DPS) many times, and I now follow the same simple routine every time. In this guide I walk you through it step by step: what to prepare at home, how to pass immigration and customs quickly, where to get your first cash and SIM card, and how I get from the airport to my hotel safely and at a fair price.
My Bali arrival routine in one minute
- Arrange your visa or e-VOA before you fly, if your nationality needs one.
- Complete the All Indonesia Arrival Card within 72 hours before your flight and save the QR code.
- Use the automatic e-gates at immigration if you are eligible.
- Exchange US$50–100 or withdraw around Rp1.7 million for the first days.
- Buy a local SIM card before you leave the terminal.
- Eat upstairs if you are hungry—the drive to your hotel can take 1–2 hours.
- Book Grab or Gojek from their airport pick-up lounges, or meet a driver you have arranged in advance.
1. Before You Fly: Three Things to Do at Home
The smoothest Bali arrival starts before you board. Three pieces of paperwork decide whether you walk straight through the airport or spend your first hour in queues.
Arrange Your Visa or e-VOA
Some nationalities can enter Indonesia visa-free, while others need a visa. Many travellers use the Visa on Arrival (B1), which gives an initial 30-day stay and can normally be extended once for another 30 days. You can buy it at the airport, but I prefer applying online for the e-VOA before departure: it removes a payment queue after a long flight and, for eligible passports, opens the door to the automatic e-gates.
Which option is right for you depends on your nationality, the purpose of your trip and how long you plan to stay. I explain each visa type in detail in my Bali Visa & Entry Guide.
Complete the All Indonesia Arrival Card
In my experience, this is the single most important step for a fast arrival. The All Indonesia Arrival Card is Indonesia’s official, free online arrival declaration. It combines your arrival details, health information and customs declaration in one form. You can complete it within 72 hours before your flight through the official All Indonesia website or app.
Have these details ready:
- Passport details
- Flight number and arrival date
- The address of your first hotel or villa
- Contact information
- Health information, if asked
- Number of bags and any goods you need to declare at customs
When you submit the form, you receive a QR code. Take a screenshot so you can show it even without internet. If you skip this step, you can still fill in the form on the computers after passport control, but in my experience this costs time—especially when a few large flights land together.
Tip: Only use the official government website or app. Several look-alike sites charge a fee for a form that is free.
Pay the Bali Tourist Levy
Foreign visitors to Bali pay a one-time tourist levy of Rp150,000 per person. You can pay in advance on the official Love Bali website and keep the voucher on your phone. Paying before you travel means one less thing to think about at the airport.
2. Immigration: E-Gates or the Manual Queue
When you reach passport control at Ngurah Rai, you will see two options: the automatic e-gates and the traditional immigration counters.
- E-gates: If you already have an approved e-VOA (or are an eligible visa-exempt traveller) and a passport with a chip, you can usually go straight to the e-gates. You scan your passport, look into the camera and the gate opens—there is no need to speak with an officer.
- Manual counters: If you need to buy a Visa on Arrival at the airport, or you are not eligible for the e-gates, you join the queue for an immigration officer. On a busy evening this can take a long time.
This is the main reason I always arrange my visa online before flying. With the visa already in the system, I skip the counter queue completely and walk directly to the e-gates. Eligibility rules can change, so check the current conditions for your nationality before travelling.
3. Baggage Claim and Customs
After immigration, collect your luggage at the baggage carousels. At the customs exit, you scan the QR code from your All Indonesia Arrival Card. If the form is already complete and you have nothing to declare, this takes a few seconds and you walk out into the arrivals area.
If you did not complete the form at home, use the computers in the airport after passport control to fill it in, then continue to customs with your new QR code.
4. Get Your First Cash: Just Enough for the First Days
Once you are through customs, I recommend getting a small amount of Indonesian Rupiah before you leave the airport. You will need cash for small purchases, tips and places that do not accept cards until you find a reliable money changer in town.
My advice is simple:
- Exchange a small amount, such as US$50 or US$100, at one of the exchange counters in the arrivals area, or
- Withdraw around Rp1.7 million from an airport ATM—roughly the equivalent of US$100, depending on the current exchange rate.
Airport exchange rates are usually not the best on the island, so I do not change all my money here. Once I reach my area, I look for an established, authorised money changer with clearly displayed rates. At the ATM, always choose to be charged in Indonesian Rupiah rather than accepting the machine’s own currency conversion.
For a full explanation of cards, ATMs, fees and safe money changers, read my Bali Money & Payments Guide.
5. Buy a SIM Card Before You Leave the Terminal
I always recommend buying a local SIM card at the airport. You will need mobile data straight away:
- To book Grab or Gojek to your hotel
- To message your hotel or driver if you are delayed
- To use maps on the way
- Because hotel Wi-Fi in Bali is not always strong enough to depend on
The mobile operator shops are in the arrivals area, close to the exchange counters. Make sure the SIM card is activated and working before you walk away from the counter.
Which operator should you choose, and should you buy an eSIM before you go? I compare Telkomsel, XL and Tri and explain my own choice in the Bali SIM Card & Internet Guide.
6. Hungry? Eat at the Airport Before the Drive
This is a tip many first-time visitors overlook. If you are hungry when you land, eat before you leave the airport. There are good restaurants on the upper floor, and in my experience the prices are reasonable.
The reason is Bali’s traffic. Unless you are staying in Kuta, which is very close to the airport, the drive to your hotel will probably take at least 45 minutes and often much longer. Approximate travel times outside rush hour:
| Destination | Approximate drive from the airport |
|---|---|
| Kuta / Legian | 15–30 minutes |
| Seminyak | 30–60 minutes |
| Uluwatu | 45–75 minutes |
| Canggu | 45–90 minutes |
| Ubud | 1.5 hours or more |
These are my planning estimates. Traffic, weather, ceremonies and the time of day can make the journey considerably longer, so do not plan anything important for the evening you arrive.
7. Getting to Your Hotel: Grab, Gojek, Taxi or Private Driver
Grab or Gojek: My First Choice
For most travellers, I think Grab or Gojek is the safest and simplest way to leave the airport. The price is shown in the app before you book, the service is official at the airport and you do not need to negotiate.
How to find the pick-up point: After you walk out of the arrivals hall, pass the area where drivers wait holding name signs. Continue straight ahead, and you will see the Grab and Gojek signs. Follow them to the pick-up lounges, book your car in the app and wait there for your driver.
Airport Taxis and Drivers Calling “Taxi”
As you walk out, you will hear people calling “Taxi, taxi!” In my experience, they are generally reliable, but their prices are usually higher than the apps. If you choose one, agree on the full price to your hotel before you get in the car.
A Private Driver Arranged in Advance
If someone you trust has recommended a driver, arranging the transfer before you arrive is also a good option. Send your flight number and hotel address in advance and agree on the price and the meeting point. Your driver will usually wait among the name signs outside the arrivals hall. Many hotels and villas can arrange an airport transfer as well.
For a detailed comparison of drivers, Gojek and Grab, travel times to each area and tips for arriving at a villa or Airbnb, read my Airport to Your Hotel in Bali guide.
8. Common Arrival Mistakes I See
- Leaving the arrival card until the airport. It works, but it adds time after a long flight.
- Using unofficial websites for the arrival card, the e-VOA or the tourist levy.
- Changing all your money at the airport instead of only what you need for the first days.
- Leaving without a working SIM card and then trying to book a ride on weak Wi-Fi.
- Getting into a taxi without agreeing on the price.
- Underestimating the drive to Ubud, Canggu or Uluwatu and planning an evening activity on arrival day.
9. My Step-by-Step Bali Airport Arrival Checklist
- Before flying: arrange your visa or e-VOA if you need one.
- Within 72 hours of your flight: complete the All Indonesia Arrival Card and save the QR code.
- Pay the Bali tourist levy on the official Love Bali website.
- At immigration: use the e-gates if you are eligible; otherwise join the counter queue.
- Collect your luggage and scan your arrival card QR code at customs.
- Exchange US$50–100 or withdraw around Rp1.7 million.
- Buy and activate a local SIM card.
- Eat upstairs if you are hungry.
- Follow the signs to the Grab or Gojek pick-up lounge, or meet your pre-arranged driver.
Frequently Asked Questions
How long does it take to get through Bali airport?
It varies with the time of day and how many flights land together. With an e-VOA, e-gate access and a completed arrival card, it can be quite quick. If you need a Visa on Arrival at the counter and complete the arrival card at the airport, allow considerably more time.
Is the All Indonesia Arrival Card mandatory?
Yes. International travellers must complete Indonesia’s official arrival declaration. It is free when completed on the official website or app.
Can I use the e-gates at Bali airport?
Travellers with an approved e-VOA and an electronic passport can generally use the e-gates, and some visa-exempt nationalities are eligible too. Check the current rules for your nationality before travelling.
Should I exchange money at Bali airport?
Only a small amount. I exchange around US$50–100 or withdraw about Rp1.7 million from an ATM for the first days, then use an authorised money changer in town.
Can I buy a SIM card at Bali airport?
Yes. Operator shops in the arrivals area sell tourist SIM cards. I recommend buying one before you leave so you can book a ride and contact your hotel.
Is Grab available at Bali airport?
Yes. Both Grab and Gojek have pick-up points at Ngurah Rai International Airport. Walk past the drivers holding name signs and follow the signs to the pick-up lounges.
How long is the drive from Bali airport to Ubud?
Plan for around 1.5 hours or more, depending on traffic. Kuta is the closest area, while Seminyak, Canggu and Uluwatu usually take 30 to 90 minutes.
Related Bali Guides
- Airport to Your Hotel in Bali
- Bali Visa & Entry Guide
- Bali SIM Card & Internet Guide
- Bali Money & Payments Guide
- Flights to Bali
- Safety in Bali
- How to Plan Your Bali Itinerary
Follow my Bali life day by day
I share the places, people and little discoveries behind these guides on our Instagram. Say hello and follow us at @ajourney for my real experiences in Bali.
Official Sources
Entry rules can change. Before travelling, check the All Indonesia Arrival Card, the official Indonesian e-Visa website and the Love Bali tourist levy portal. Travel times are my own planning estimates.
Images are AI-created editorial illustrations using Emre Konuralp’s portrait reference where shown. They illustrate the guide rather than document a specific visit.